Getting Started With Mend SAST
Open an account with Mend.
Click on the link in the welcome email you receive from Mend.

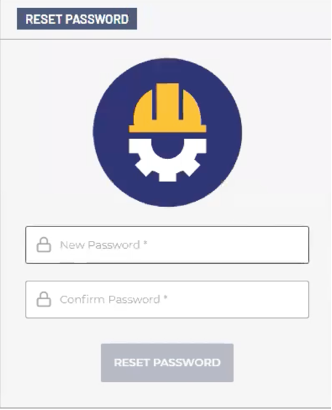
3. In the RESET PASSWORD window, enter your password twice and click RESET PASSWORD.
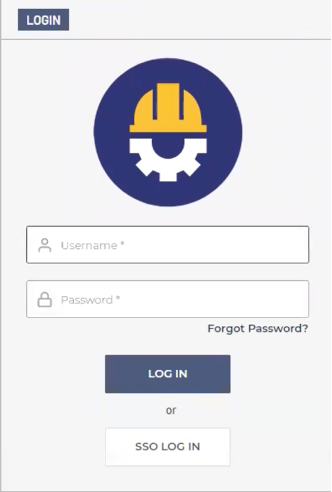
4. In the LOGIN window, enter your username and password and click LOG IN.
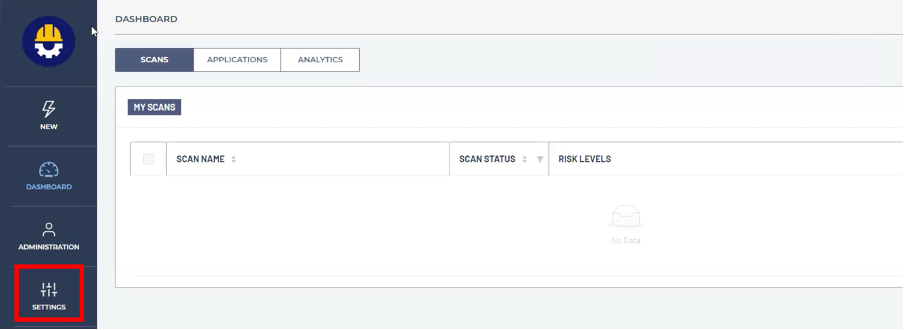
5. In the DASHBOARD window, click SETTINGS in the menu bar on the left.
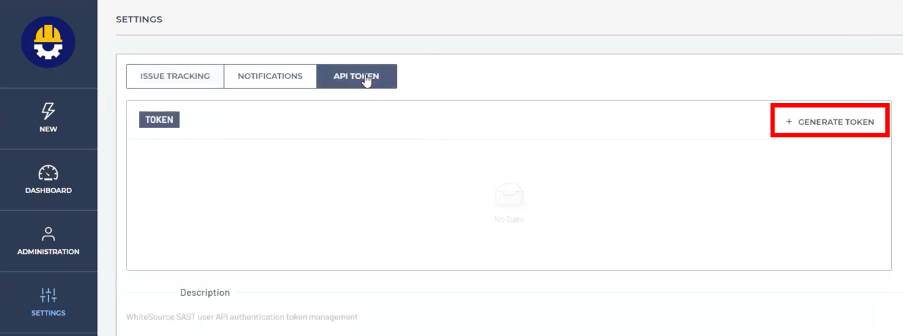
6. Click API TOKEN.
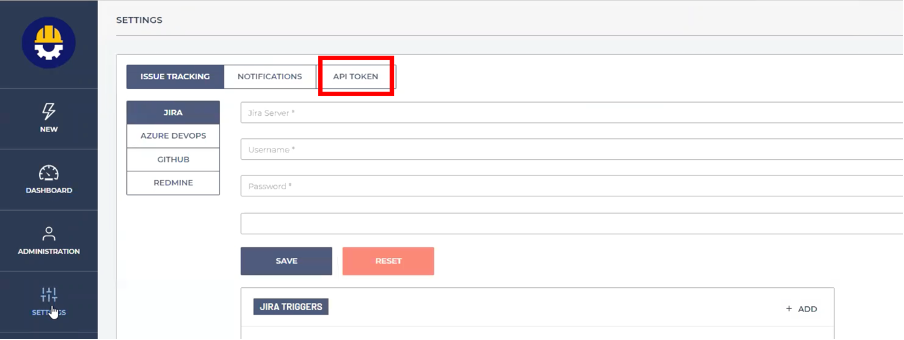
7. Click + GENERATE TOKEN.
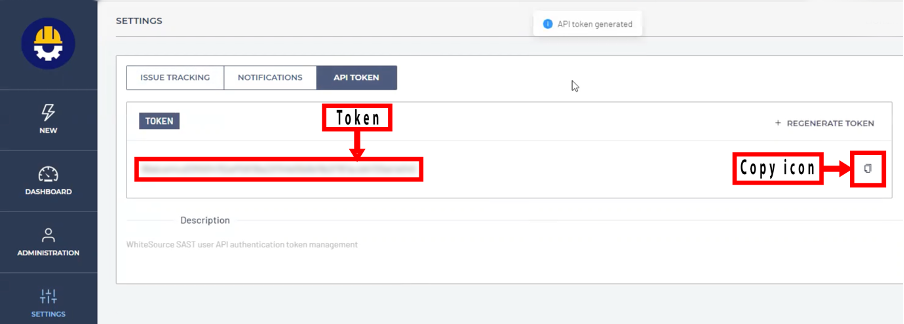
8. Click the copy icon.
9. Download the latest production CLI from:
Linux Version – Download Link
https://downloads-sast.whitesourcesoftware.com/sast-cli/linux/wssastcli
Windows Version – Download Link
https://downloads-sast.whitesourcesoftware.com/sast-cli/windows/wssastcli.exe
MacOS
NOTE: On MacOS, you must install Docker before configuring Mend SAST. For more information, see (https://docs.docker.com/ .
Mac (Intel) Link
https://downloads-sast.whitesourcesoftware.com/sast-cli/mac/wssastcli
Mac (ARM) Link
https://downloads-sast.whitesourcesoftware.com/sast-cli/macarm/wssastcli
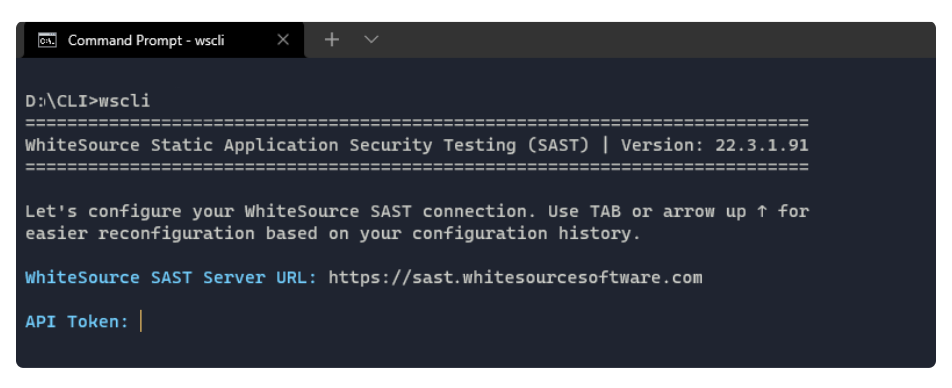
10. Configure the CLI by starting the wssastcli executable without command line parameters from the terminal of your choice. You will be prompted with an interactive setup.
NOTE: In some environments the CLI does not exit the interactive setup when users presses Ctrl+C. Cancellation is also possible by pressing Esc and typing“exit”, or by pressing Ctrl+E.
11. Enter the Server URL and API Token.
12. You will be prompted with an optional advanced configuration, in which you can configure your scans.

13. After the configuration is completed, a wscli-config.json file will be created with all the set parameters inside.
Below is an example wscli-config.json file. All of these JSON parameters can also be specified as environment variables. A full list can be found in the User Guide.
{
    "connection": {
        "token": "………………………………………………………………………",
        "url": " ",
        "organizationId": "……………………………………………………………",
        "timeoutMin": 10,
        "insecureSkipVerify": false
    },
    "proxy": {
        "enabled": false,
        "url": "",
        "username": "",
        "password": ""
    },
    "cachePath": "",
    "scans": {
        "engines": [],
        "directory": "",
        "application": "",
        "template": "",
        "submitFiles": true,
        "submitLogs": true,
        "snippetSize": 10,
        "exclusions": [],
        "incremental": false,
        "uploadBaseline": false,
        "baselineStorage": "",
        "threshold": {
            "high": 0,
            "medium": 0,
            "low": 0,
            "cwe": []
        }
    },
    "reports": {
        "generate": false,
        "formats": [],
        "filename": ""
    },
    "noColor": false,
    "noProgress": false
}
14. To run your first scan, set the --app parameter to the name of the application that you are scanning (which will be automatically created in your SAST dashboards) as well as the --dir parameter if it is not already set through the interactive advanced configuration.
Command line parameters can override any configuration set in JSON files. For example:
wssastcli --app "MyFirstApp" --dir "C:\projects\myproject"
15. The CLI and engine logs will be automatically submitted to the SAST server, but if you want to manually review them, they are located under the user's HOME directory (%USERPROFILE% on Windows and $HOME on Linux), in the .sastcli/logs directory.
The --help parameter
You can run wssastcli with the --help parameter to get more information about supported command line parameters.
NOTE: Complete Mend CLI documentation can be found here.
D:\demo\CLI>wssastcli –help
===========================================================================

WhiteSource Static Application Security Testing (SAST) | Version: 22.3.1.91

===========================================================================

Usage:
  wssastcli [argument]

Available arguments:
  --dir [directory]        Specifies target directory for SAST testing
  --app [application]      Specifies scan parent application name and inherits its parameters
  --template [template]    Specifies scan configuration template name
  --name [name]            Specifies scan name. Auto-generated if omitted
  --engines [engine IDs]   Specifies which SAST engines should be used for testing (omit for auto-recognition)
  --inc=[bool]             Indicates if the scan should be an incremental scan
  --baseline=[bool]        Indicates if the CLI should upload the scan data as a new baseline for incremental scans
  --baselinestorage        Specifies the location of the baseline dump
  --submitfiles=[bool]     Indicates if the vulnerability-relevant snippet files should be submitted with results
  --submitlogs=[bool]      Indicates if the CLI and engine logs should be submitted to WhiteSource
  --snippetsize [size]     Specifies the size of source code snippets submitted to SAST server
  --report=[bool]          Indicates if the CLI should generate a report through the server"
  --formats [formats]      SAST report formats, comma separated (html, pdf, xml, json, csv or sarif)
  --filename [filename]    SAST report filename (extensions will be automatically attached)
  --config [path]          Specifies CLI JSON configuration file path
  --numcpu [num]           Specifies the number of logical CPUs for multicore processing. Default maximum
  --nocolor=[bool]         Indicates if the CLI should use colored standard output
  --noprogress=[bool]      Indicates if the CLI should show a progress bar

Example usage:
  wssastcli --dir /dev/project --engines 2
  Invokes a scan against the /dev/project directory using engine ID 2 (C#).

  wssastcli --dir /dev/project --submitfiles=false
  Invokes an auto-language recognition scan against the /dev/project directory without submitting vulnerability-relevant files.

  wssastcli --dir /dev/project --app "MyApp"
  Invokes a scan against the /dev/project directory, under parent application  "MyApp" parameters.