| Table of Contents | ||
|---|---|---|
|
...
A valid license for WhiteSource for Developers
A license key for WhiteSource Advise for IDE, available via one of the following options:
If you do not have direct access to the WhiteSource Application, obtain the license key from your WhiteSource Administrator.
If you have access to the WhiteSource Application, do as follows (NOTE: This option is only available when using version 20.11.1 or later of WhiteSource Advise):
Go to the WhiteSource Application.
Open the Profile page.
In the WhiteSource Advise - IDE Integration section at the bottom, select your organization.
Copy your personal license key to be used later in Activating WhiteSource Advise.
Java JDK 1.8 and up (see here for instructions) or OpenJDK 1.8 and up is installed
Either or both of the following:
Apache Maven Application is installed and the Maven path and all environment variables are set up (see here for instructions)
Gradle is installed
Eclipse is installed and you are familiar with its basic functionality.
When declaring a gradle.properties file, ensure it is declared in the project's top-level folder.
Supported Versions
The plugin supports the following Eclipse IDE versions:
2020-09 (4.17)
2020-06 (4.16)
2020-03 (4.15)
2019-12 (4.14)
2019-09 (4.13)
2019-06 (4.12)
2019-03 (4.11)
2018-12 (4.10)
2018-09 (4.9)
When declaring a gradle.properties file, ensure it is declared in the project's top-level folder.
Installing WhiteSource Advise
To install WhiteSource Advise, do as follows:
NOTE: If you previously installed the WhiteSource Advise plugin using the dropin folder, you must delete the org.whitesource.eclipse.plugin jar file from the dropin folder before performing this procedure.
Start Eclipse, specifying the preferred workspace.
From the menu bar, select Help > Eclipse Marketplace. The Eclipse Marketplace screen is displayed.
In the Search tab, in the Search box, enter whitesource and press Enter from your keyboard. The WhiteSource Advise plugin information is displayed.
Click Install.
Read and accept the license agreement's terms, and click Finish.
In the pop-up message, click Restart Now.
Activating WhiteSource Advise
...
Start Eclipse, specifying the preferred workspace.
From the menu bar, select WhiteSource > WhiteSource Advise Login. The Welcome to WhiteSource Advise dialog box is displayed.
In email, enter your organizational email (the email domain must be licensed to use Advise).
In License Key, enter your license key (See here for more information on how to obtain a license key).
Click Login.
...
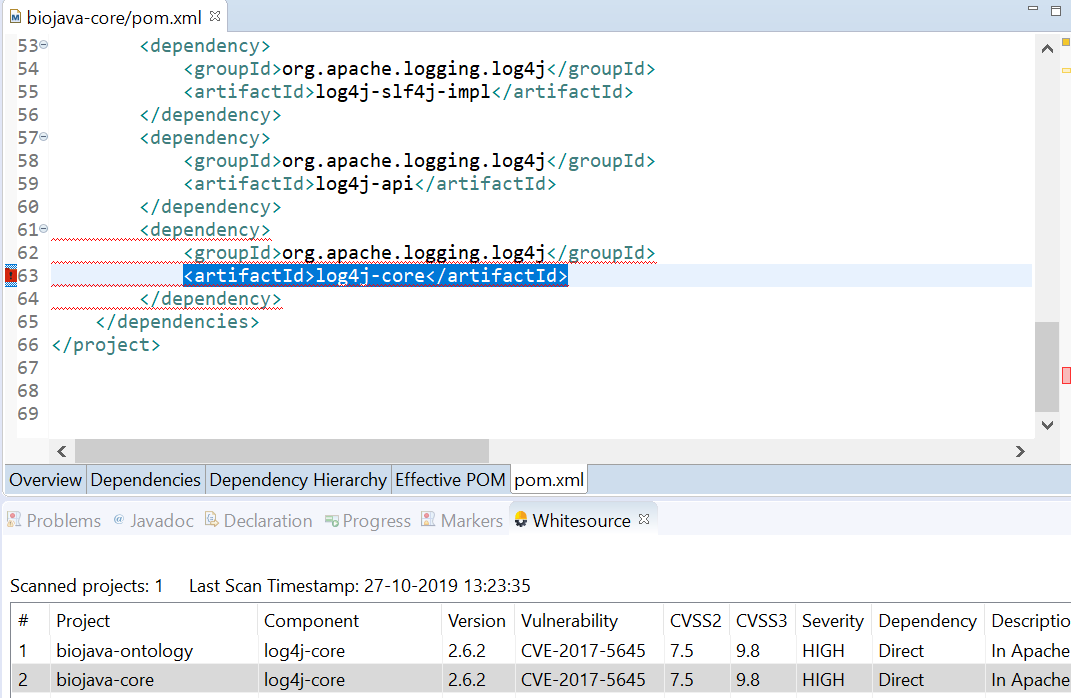
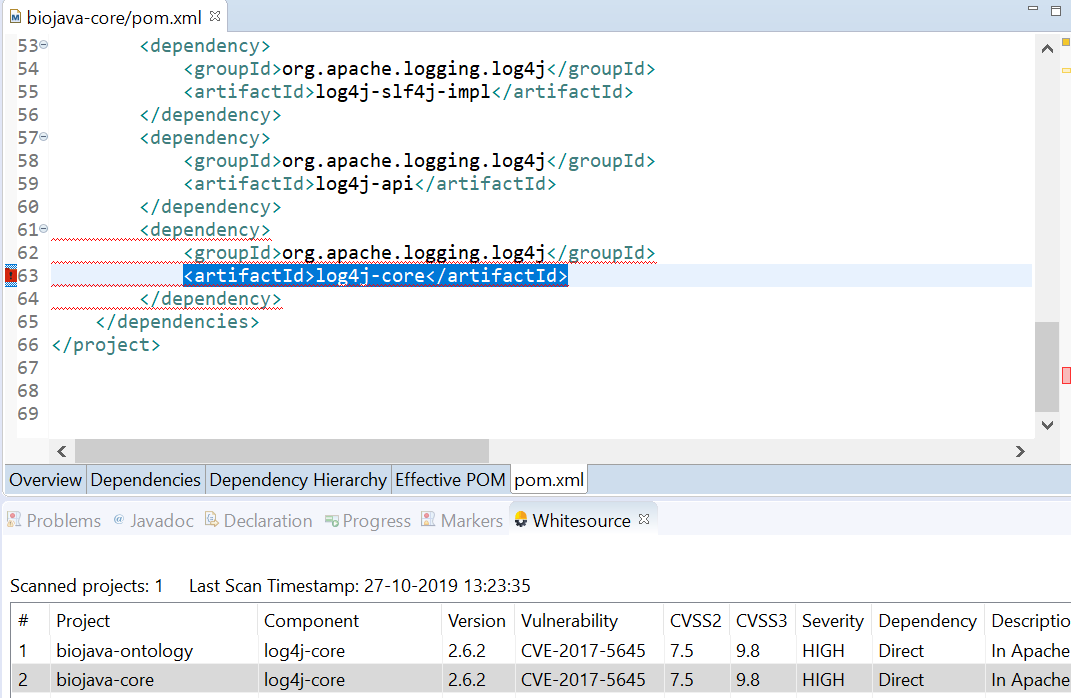
To quickly locate the component referenced by a reported vulnerability in the project’s pom.xml/build.gradle, double-click the security vulnerability in the WhiteSource tab. The referenced component description in the pom.xml/build.gradle will be displayed and highlighted in a window view.
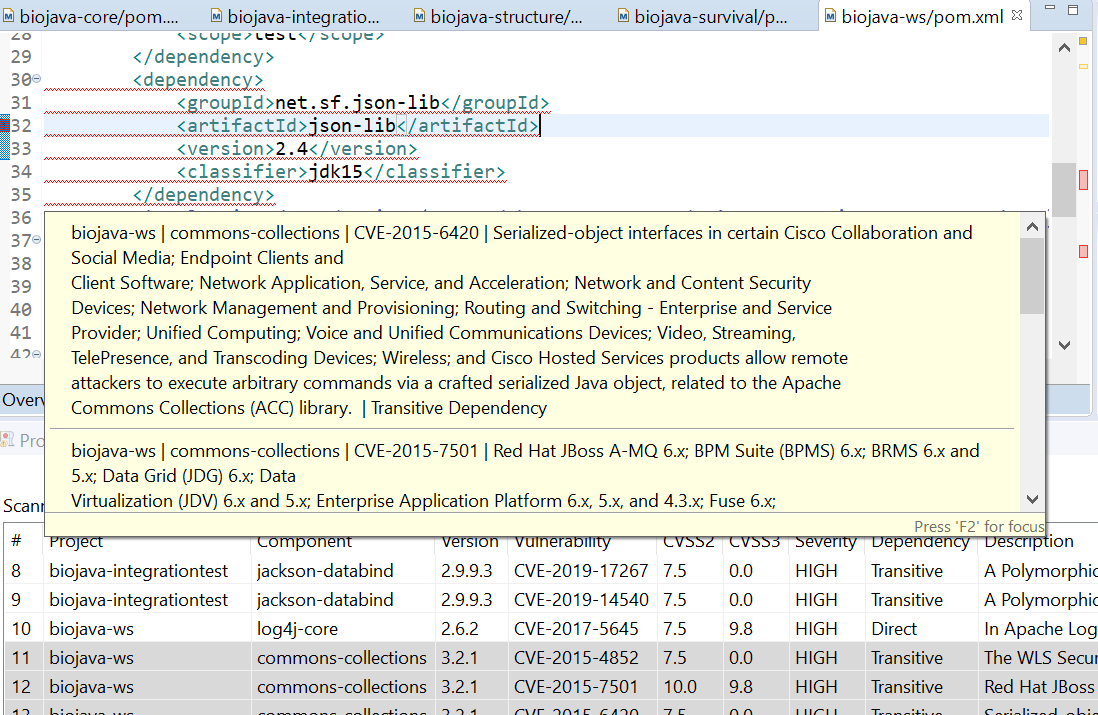
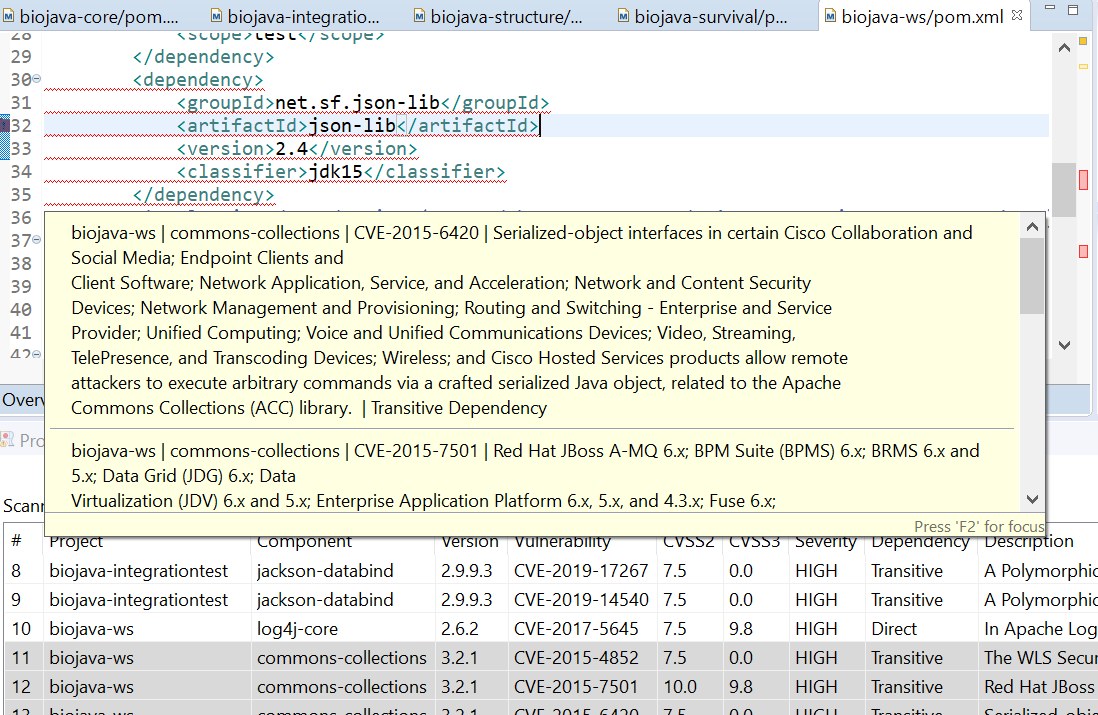
To quickly locate vulnerability analysis resultsfor a component in the pom.xml/build.gradle view, click the WhiteSource Advise severity icon displayed to the left of that component reference in the pom.xml/build.gradle; analysis details for the corresponding component will be displayed and highlighted in the WhiteSource tab. Also, a tooltip featuring relevant analysis details including a dependency path from proprietary code to the component will be displayed.
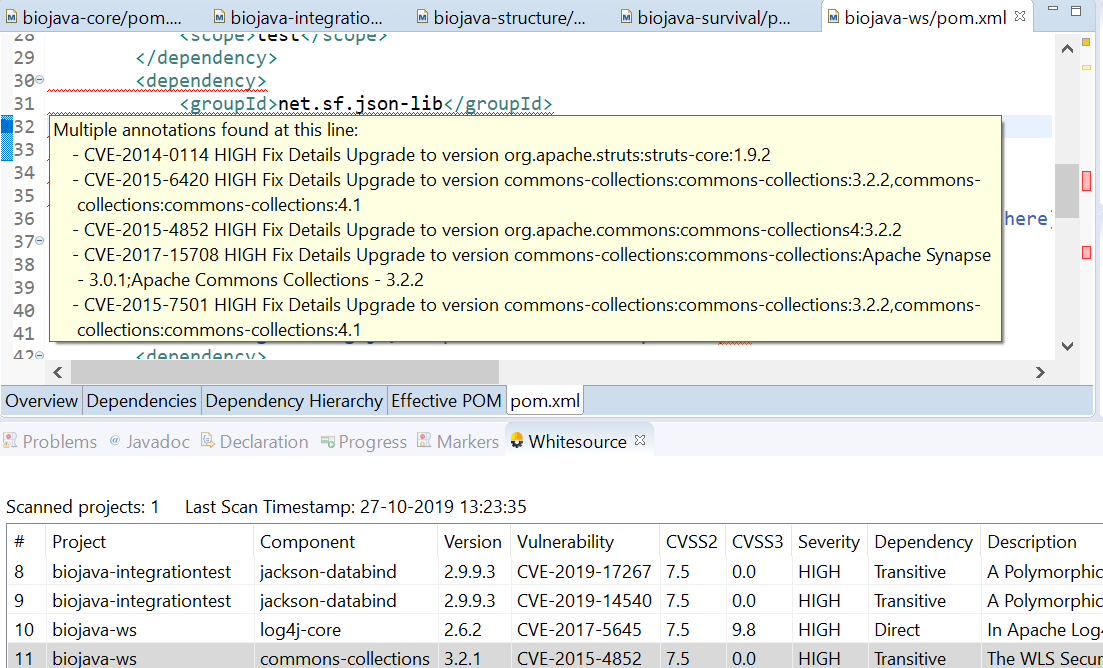
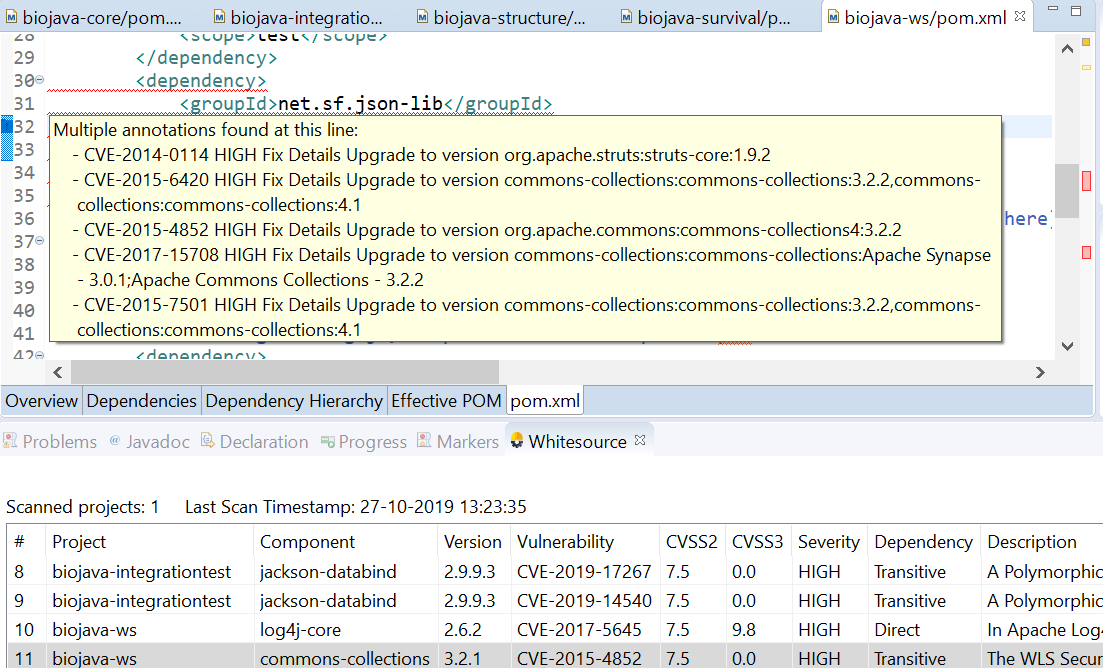
To quickly review the list of vulnerabilities reported for a component in the pom.xml/build.gradle view, hover the mouse pointer over the WhiteSource Advice severity icon displayed to the left of a component. A tooltip will be displayed, featuring details (per vulnerability) including identifier (e.g., CVE), severity, and a fix suggestion if available.
(For Maven projects only) To quickly display an analysis summary for a component in the pom.xml view, hover the mouse pointer over the code for the component in that view; a tooltip will be displayed, featuring both information and (depending on vulnerability attributes) links for applicable options, as follows:
Jump to location: Changes the display to a view featuring the component’s definition
Fix for: (applicable only to vulnerabilities in direct dependencies) Updates the component’s version pom.xml field with the number of the earliest version that according to WhiteSource features a fix to the security vulnerability.
Restoring the WhiteSource Tab
...
Start Eclipse, specifying the preferred workspace.
From the menu bar, select Help > Eclipse Marketplace. The Eclipse Marketplace screen is displayed.
Click the Installed tab.
Scroll for the WhiteSource Advise plugin.
Click Update.
Read and accept the license agreement's terms, and click Finish.
In the popup message, click Restart Now.
Uninstalling WhiteSource Advise
...
