| Table of Contents |
|---|
Overview
| Info |
|---|
WhiteSource Mend Cure is currently in beta status. |
WhiteSource Mend Cure automatically generates remediation suggestions and proposed fixes for vulnerabilities identified by detection tools in proprietary code. The remediation suggestions, called “reports”, are displayed on the vulnerable code itself and can be used as-is in your IDE.
...
Supported vulnerabilities are listed here.
How
...
Mend Cure Works
By utilizing third-party SAST tool results, WhiteSource Mend Cure provides a code fix suggestion that automatically remediates vulnerable code as if the developers fixed such code themselves. Developers just need to review and accept the proposed secure code.
The solution is case-specific, accurate and effortless, thereby saving valuable time and friction that promotes secure coding. This enables customers to dramatically shorten the remediation time of the detected vulnerabilities while training the developers with proper remediation methods.
Modes of Operation
The community edition version supports two modes of operations:
IDE plugin - Remediation suggestions are presented in the IDE for developers to review and accept. See here.
NOTE: Currently only JetBrains is supported. Future versions will support additional IDEs.Web-based application - Displays all remediation suggestions per specific repository. See here.
Supported Technologies
Languages: Java
Supported IDEs: JetBrains IntelliJ IDEA
SAST tools detection formats: Semmle and LGTM.com (SARIF format)
Prerequisites
Familiarity with the JetBrains IDE, its interface, and basic functionality
Logging in to Cure
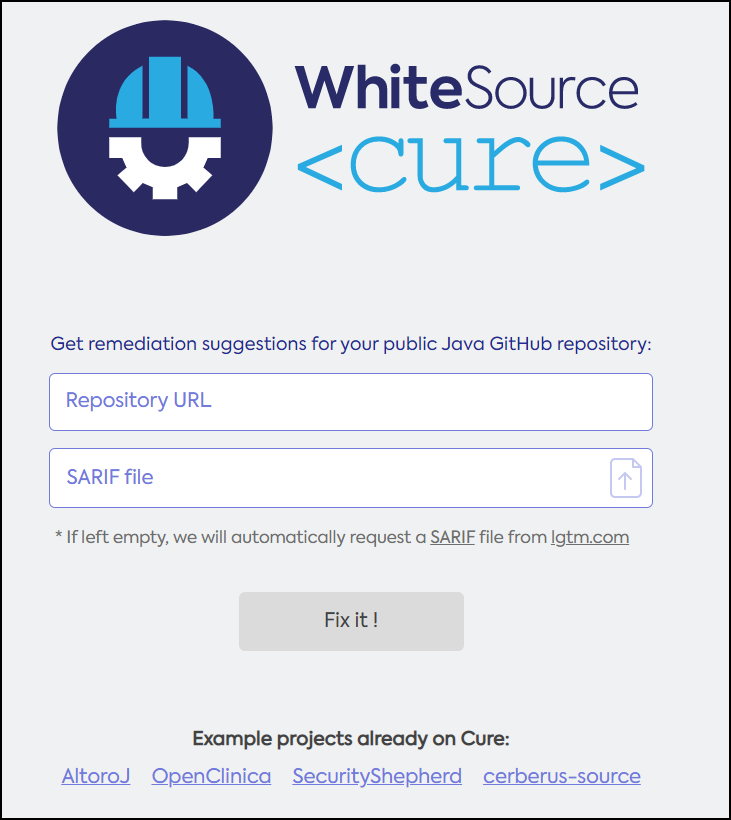
To log in to WhiteSource Mend Cure, click here. The WhiteSource Mend Cure login screen is displayed.
Generating Remediation Suggestions
To generate remediation suggestions, do as follows:
In Repository URL, enter the URL of the GitHub repository. NOTE: Only Java projects are supported.
In SARIF File, upload the detection result file or leave it empty. If left empty, WhiteSource Mend Cure will automatically request a SARIF file from lgtm.com.
Click Fix it!. In the Confirmation popup, ensure that you agree to the terms of service, and click Agree.
The Working on Remediation screen is displayed, with the remediation’s status (this can take a few minutes).
Viewing Remediation Suggestions
After you generated remediation suggestions, the Remediation screen is displayed:
...
The total number of all remediation suggestions, for example, “46 Remediation Suggestions”
The vulnerabilities grouped by subject, for example, Cross-Site Scripting, Sensitive Cookies, etc., plus the file name and line number in which that vulnerability type appears, for example, CWE 113 - HTTP Response Splitting (4).
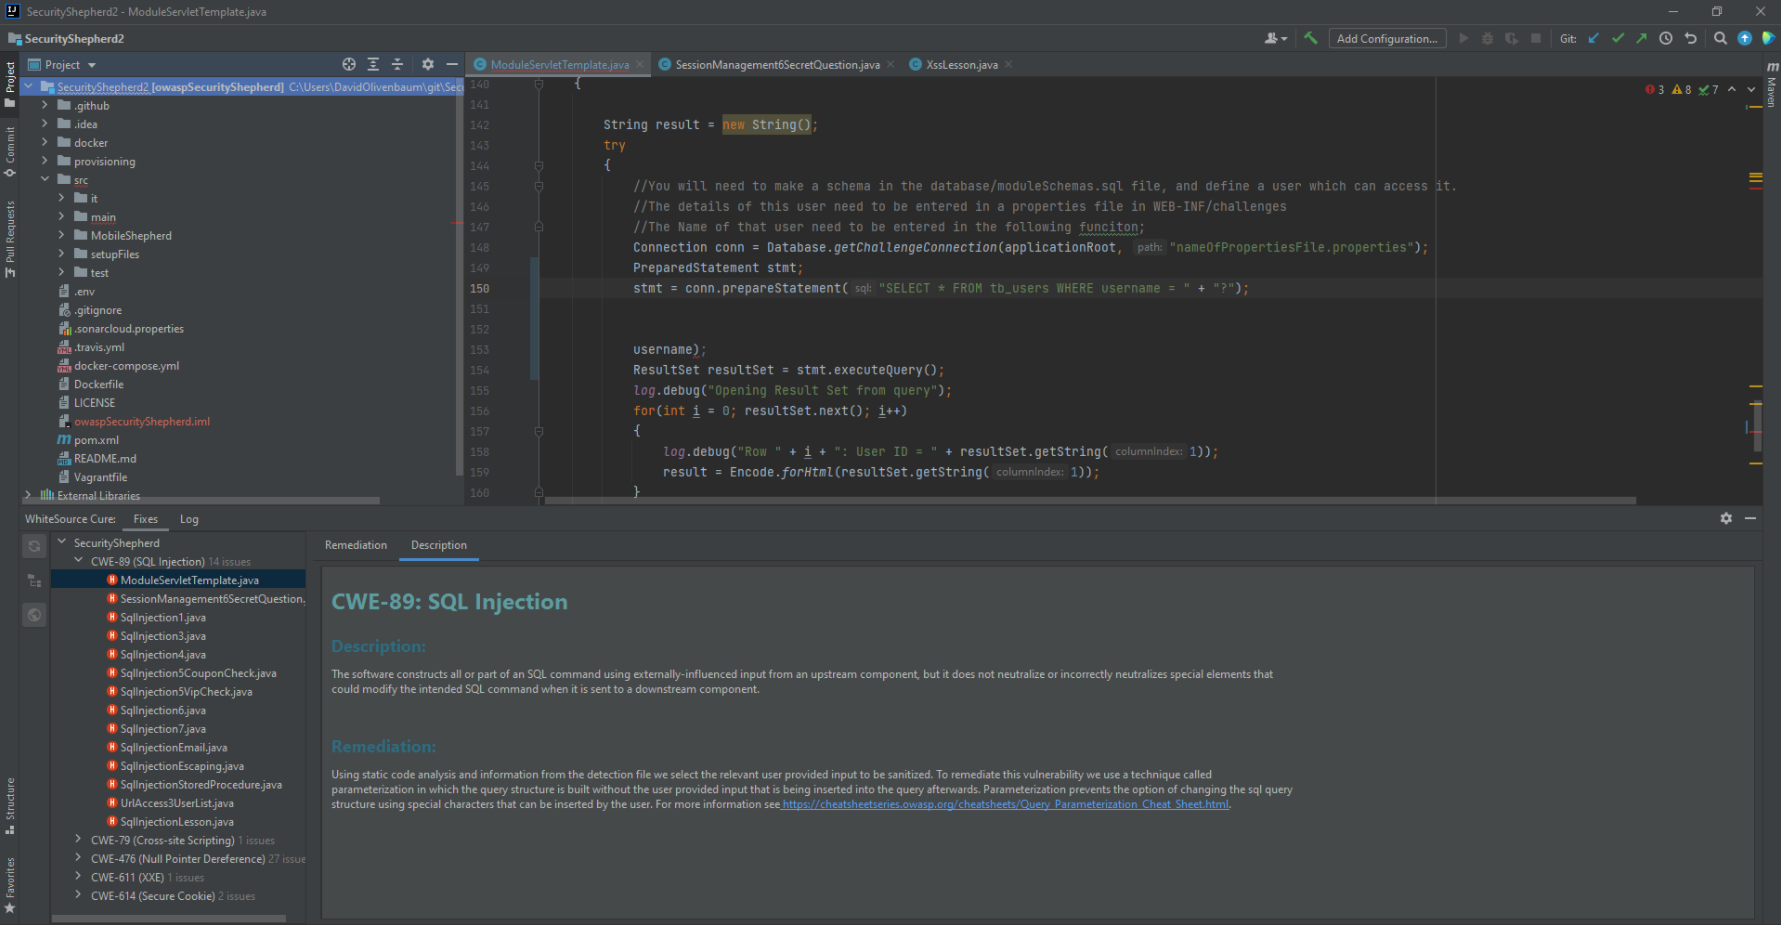
Remediation Screen
The Remediation screen displays suggestions on how to remediate your code. Do as follows:
Ensure that the main screen is open to the Remediation tab.
Drill down to the vulnerability to which you want remediation suggestions, and double-click it. The remediation report is displayed in the Remediation screen, containing the original code plus a suggestion on how to fix the vulnerability.
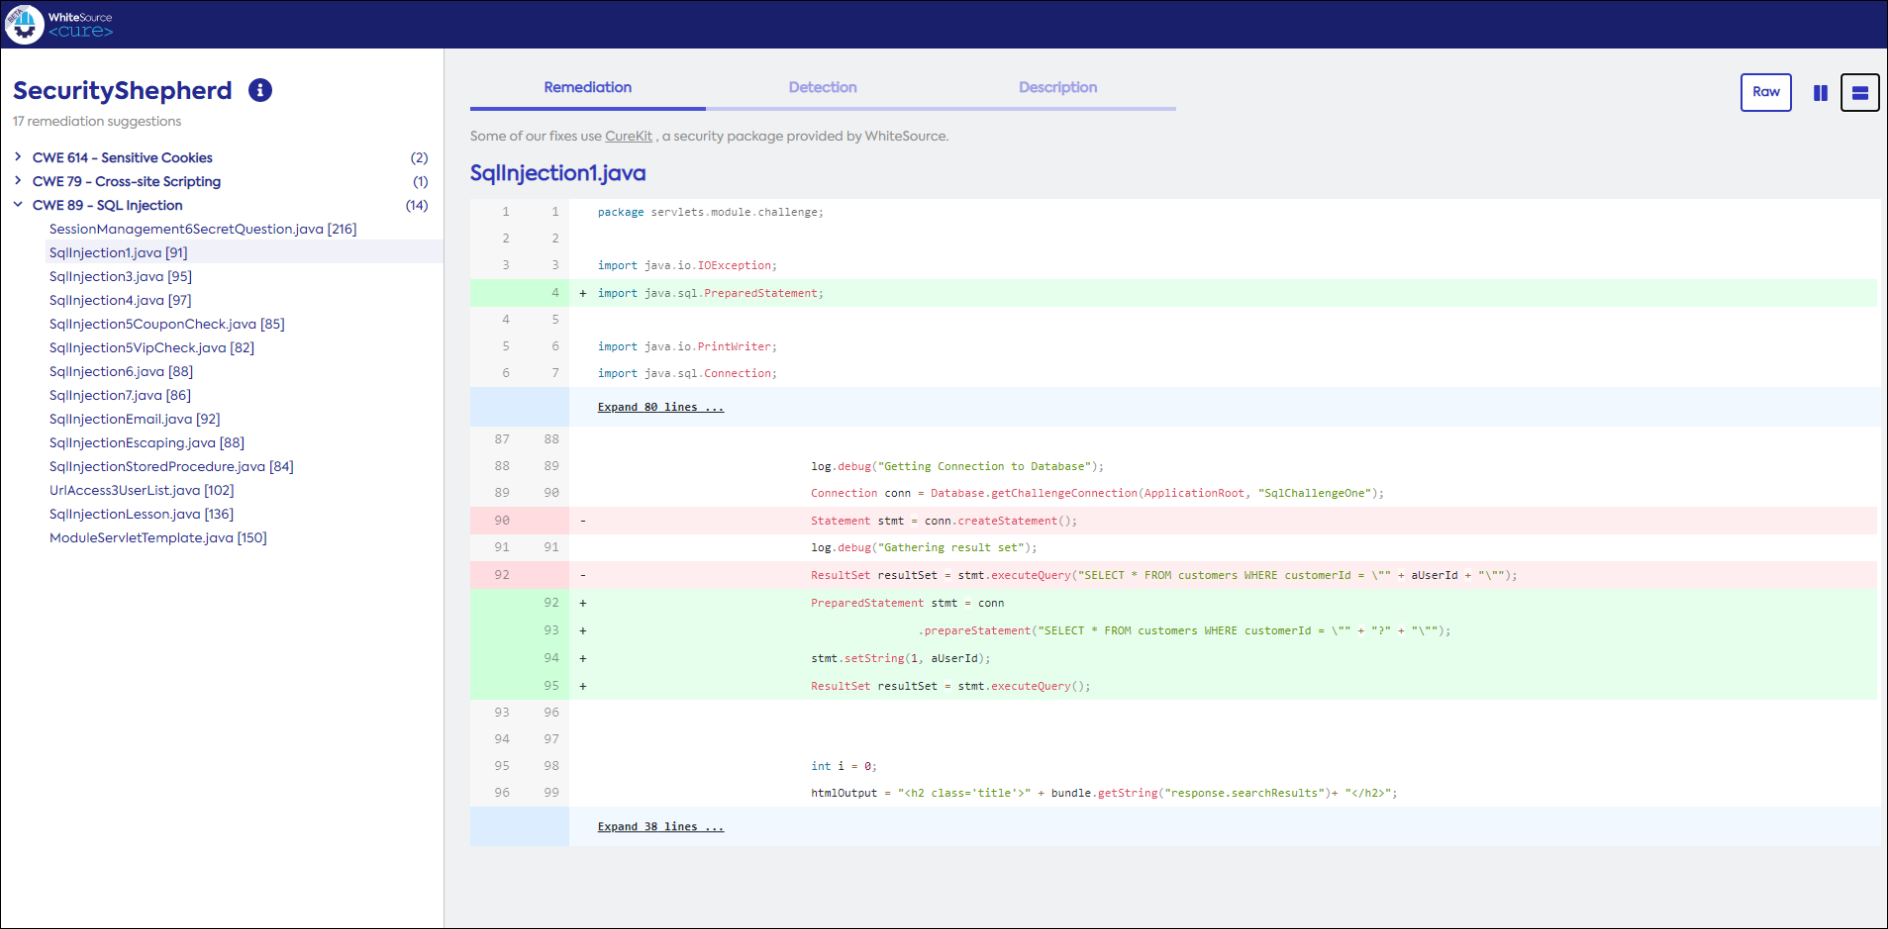
The fix suggestion can be viewed in side-by-side mode (default) or unified mode. Use the toolbar buttons on the top right to toggle between them.

If you agree with the proposed fix, copy the URL and add it to a ticket. Alternatively, use the IDE plugin.
Detection Screen
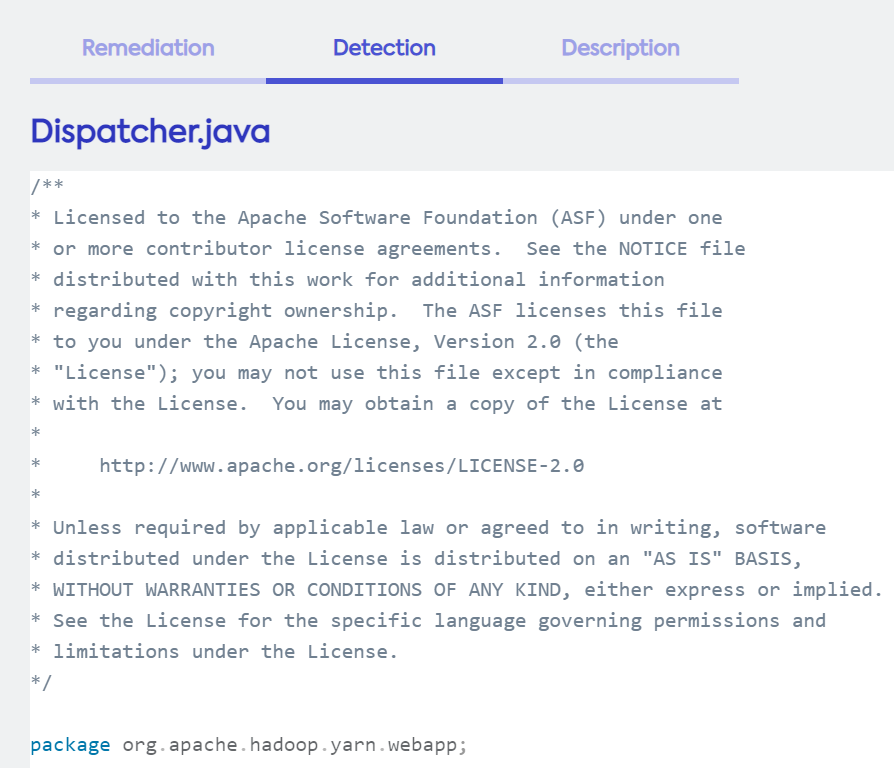
The Detection screen displays details of the actual “trace”, that is, the flow of the vulnerability and its attack vector as it propagates through the code.
...
Click Detection. The Detection screen is displayed.
Note the numbers that indicate the trace, as shown in this example:
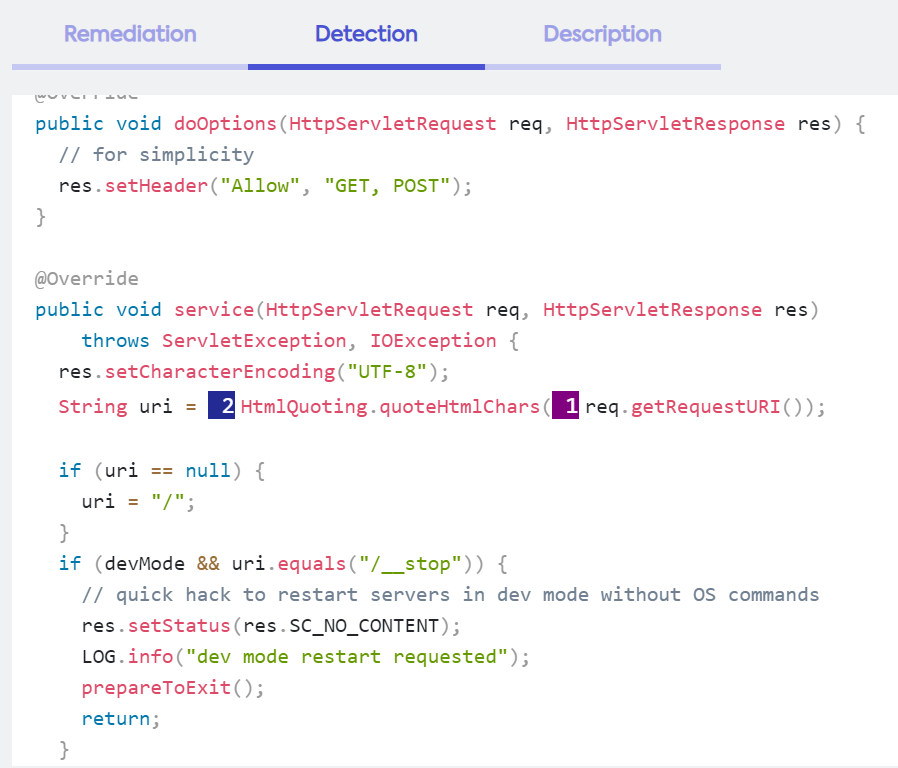
To help follow the trace, use the toolbar on top, to choose a trace to view (in case multiple traces are available). The numbers indicate which indicates the number of steps in the trace, plus back and forth arrows for navigation inside a specific trace.

Description Screen
The Description screen provides a free-text description of the vulnerability, the manner in which we remediate it, plus important links. Do as follows:
Click Description. The Description screen is displayed.
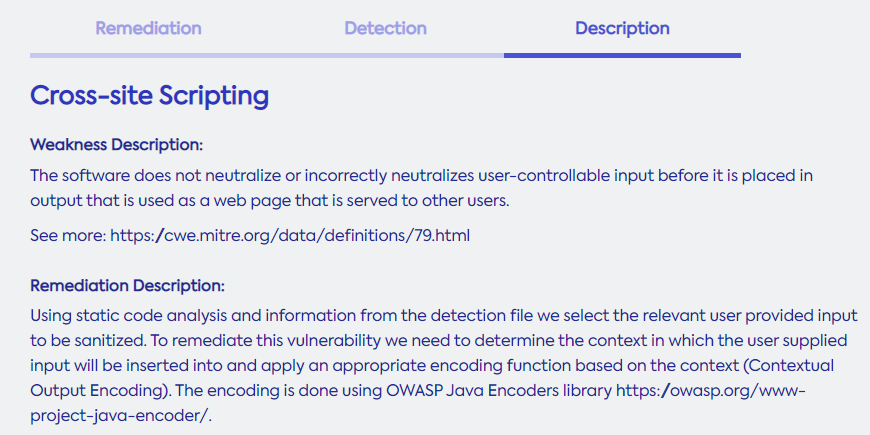
Use the information described therein as needed.
| Anchor | ||||
|---|---|---|---|---|
|
| Info |
|---|
Currently only JetBrains is supported. |
...
Once installed, the IDE is ready to be used. Do as follows:
Do all steps in Accessing Cure and Generating Remediation Suggestions.
In the IDE, open the project for which you created a remediation suggestion (report).
Click on the “earth” icon located in the plugin’s left pane. The Upload Remediation Report popup is displayed.
Copy the URL of the report you generated in Step 1 and paste it here. After a few seconds, the plugin will display a list of available remediation suggestions:
...
Vulnerability list - A list of all vulnerabilities found within the scanned code, aggregated by CWE type
Remediation tab - Includes the remediation differences displayed in the IDE. This enables you to do the following:
Browse the proposed changes
Select view options (unified or side-by-side)
Select and view file from Affected Files - The remediation suggestion may affect multiple files (in most cases only one file will require a change). In such cases, you can choose the file to view from the Affected Files dropdown list.
Choose Fix - In case there are multiple suggestions, you can select the one that you prefer from the Fix Options dropdown list
Important - After reviewing and approving the fix, to automatically change the code and save it locally, click Cure.
Description tab - Includes the following:
Descriptions of the weakness and the remediation required
Appendix: Supported CWEs
The following CWEs are supported:
...